The recipe was from the Bakeansita and can be found here.
Making the tangzhong was simple, but does require constant stirring so that the paste does not burn as it thickens.
Followed the recipe instructions for using a bread machine to make the dough. Here is the final result, light airy, great flavor bread.
 |
| From the oven |
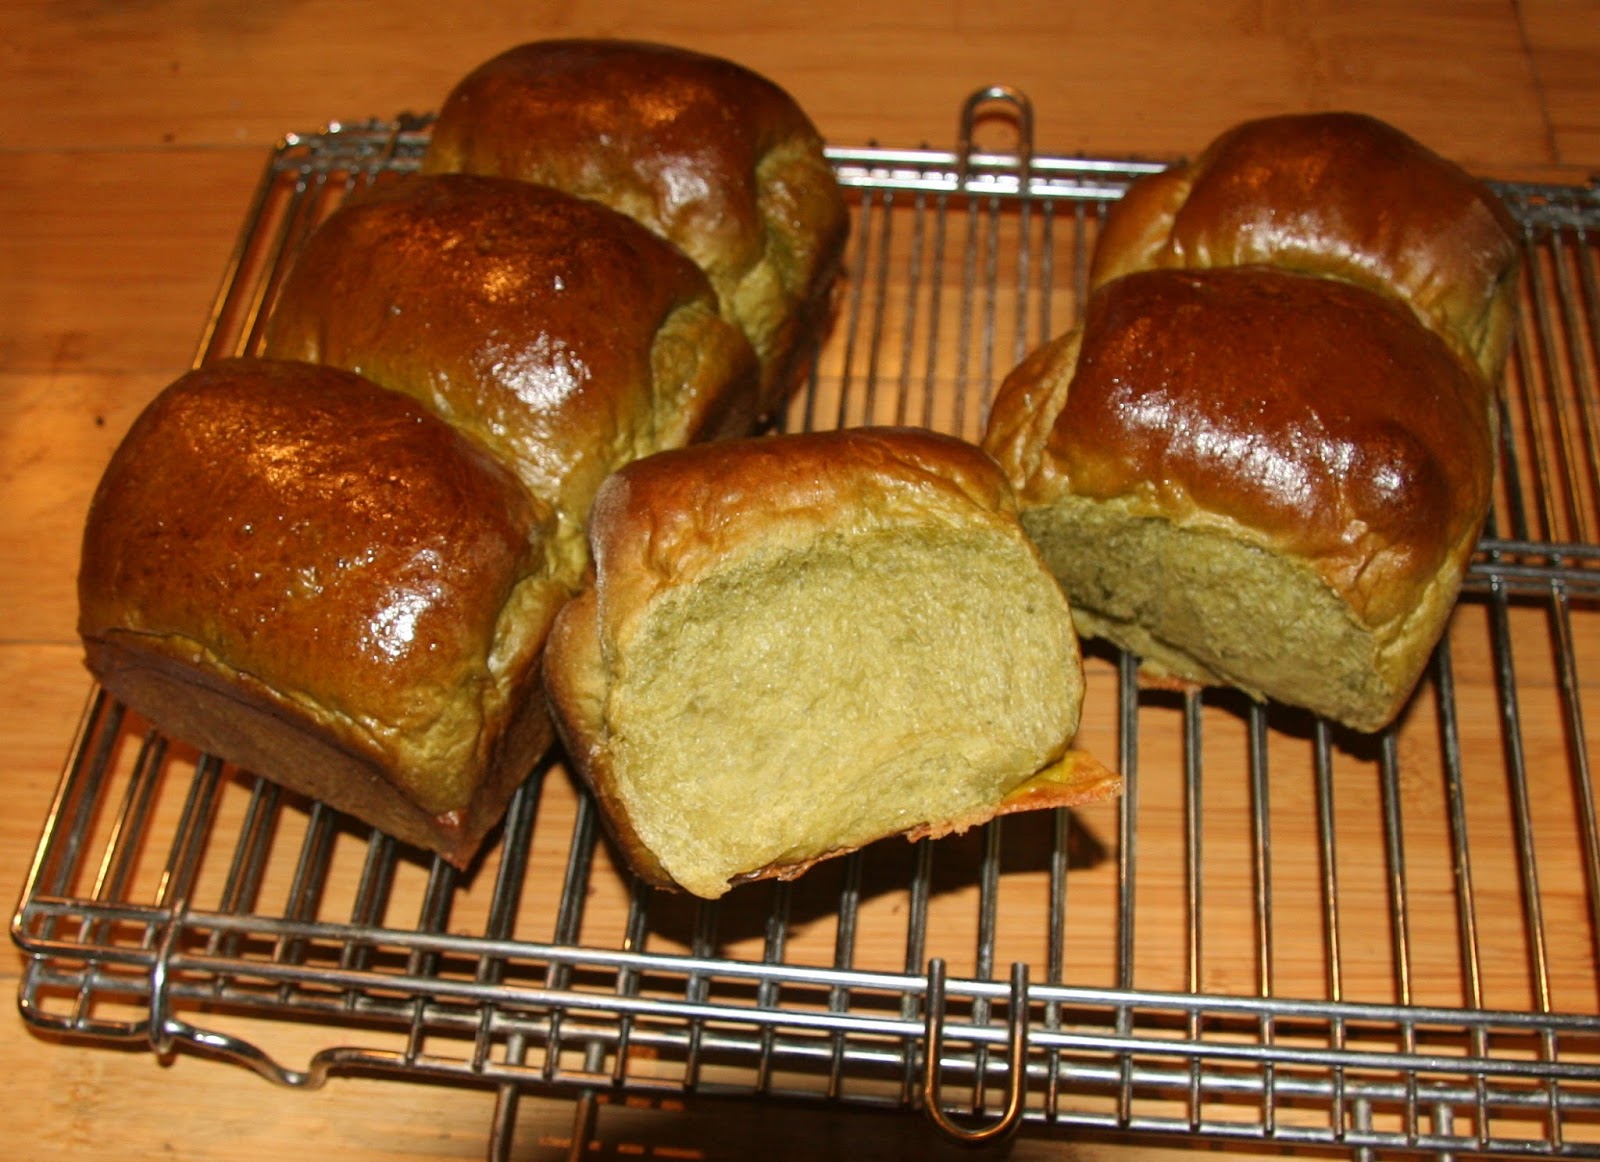 |
| Crumb shot |


